How to Replace a Heat Sequencer
Sequencers are the relays that stage electric heat strips on and off. Test them with a multimeter, pull the bad one, and drop in a replacement — a 30-minute fix that saves you a $200 service call.
¿Prefiere leer esto en español? Vea esta guía en español →
Important Safety Notice & Disclaimer
Working with electrical components carries inherent risk of shock, injury, or death. Heat sequencers control 240V circuits for electric heat strips — voltages that are extremely dangerous. Always disconnect power at the breaker before beginning any work. Verify power is OFF with a multimeter at all connections before touching any wires. Never assume the circuit is de-energized until you have personally confirmed it with a test tool.
This guide is provided for educational purposes only. Open To Public HVAC Parts makes no warranties regarding the accuracy or completeness of this information. By following this guide, you acknowledge that you do so at your own risk. Open To Public HVAC Parts, its owners, and employees are not liable for any injury, damage, or loss resulting from the use of this information. If you are not comfortable working with electrical components, hire a licensed HVAC technician.
What Is a Heat Sequencer?
A heat sequencer is a timing relay found in electric air handlers and heat pump systems with auxiliary electric heat strips. Its job is to stage on the electric heating elements in sequence — one at a time, or in staggered waves — rather than all at once. This prevents massive current draw that would trip your main breaker.
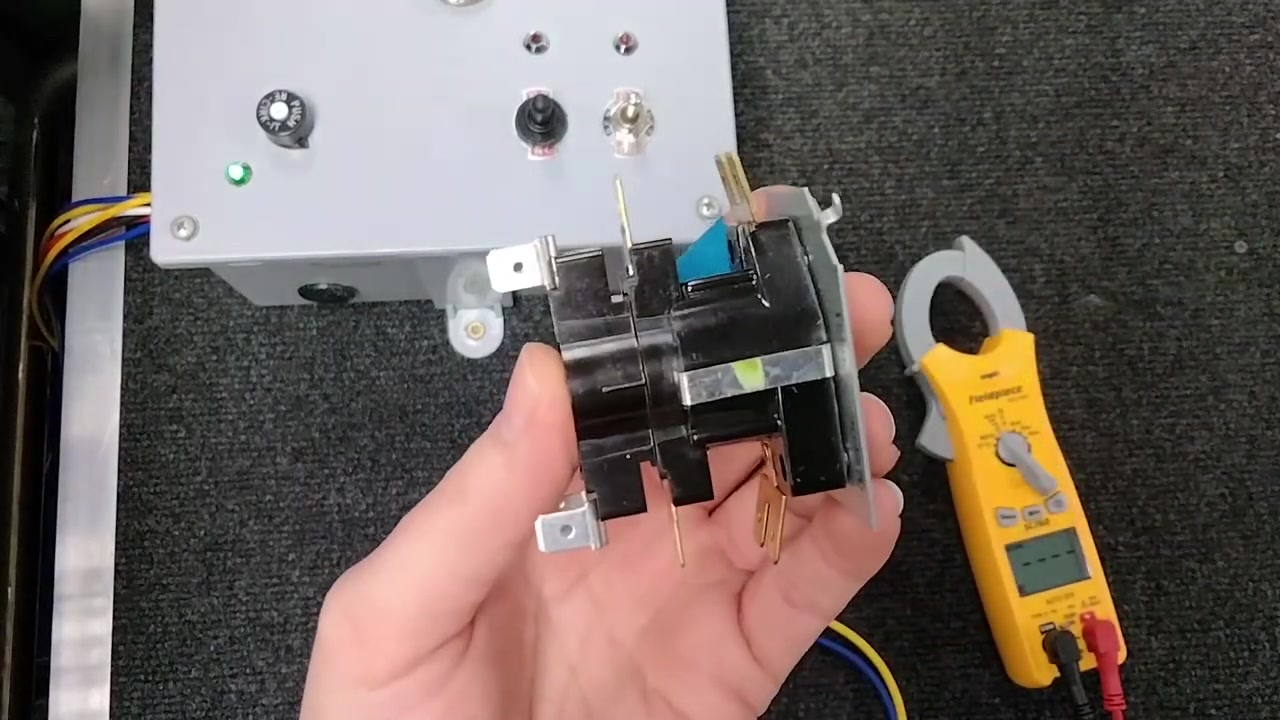
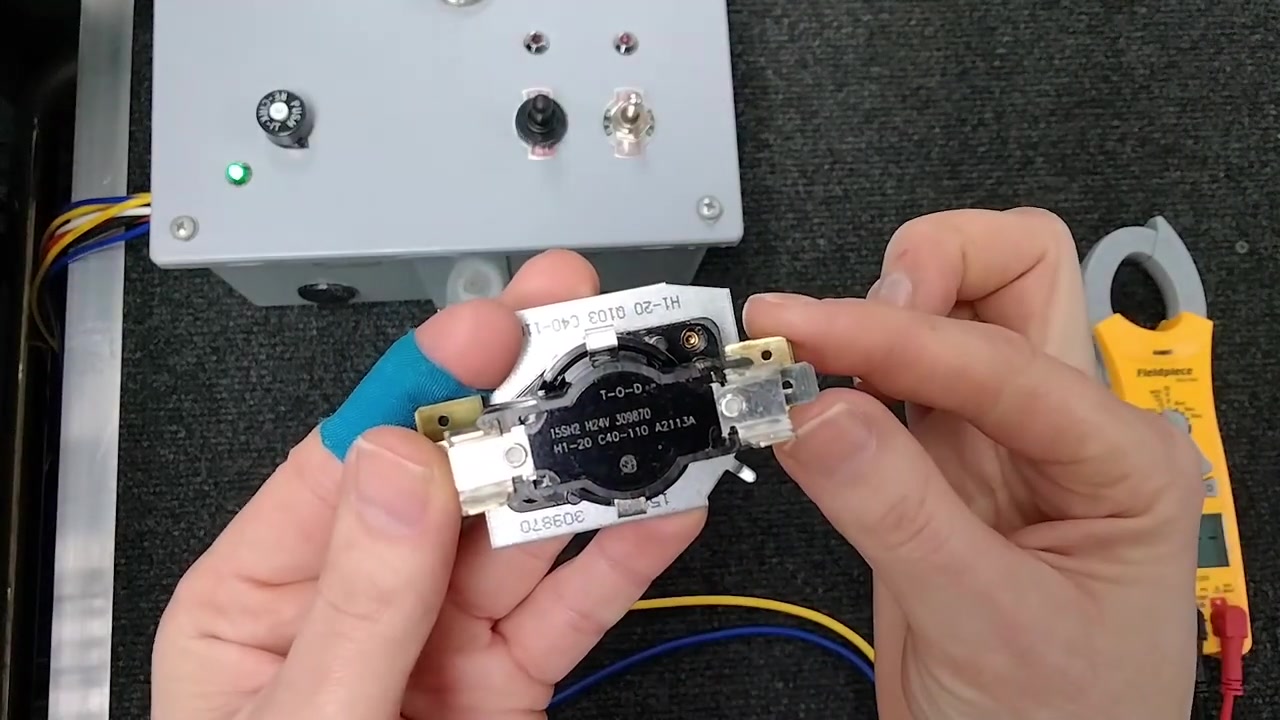
How It Works
Inside a heat sequencer is a bi-metal disc — two metals bonded together with different expansion rates. When your thermostat calls for heat, it sends 24 volts to energize the sequencer coil. This heats the bi-metal disc, which flexes and mechanically closes a set of electrical contacts. These contacts allow 240V to flow to the first set of electric heat strips. After a time delay (typically 1 to 22 seconds), additional contacts close on the same disc, staging on more heat strips. When the thermostat stops calling for heat, the coil de-energizes. The disc cools down and flexes back to its original shape, opening all the contacts at once. This staggered timing is what prevents breaker trips and overload.

Most residential sequencers have single, double, or triple stacks of contacts — meaning 1, 2, or 3 separate sets of contacts that close in sequence, all controlled by the same bi-metal disc with a single time delay.
Signs Your Sequencer Is Bad
Heat sequencers fail in predictable ways. Here are the most common symptoms:
No Heat from Electric Furnace or Air Handler
Thermostat calls for heat, but no warm air comes out. The burners (if gas) or the outdoor unit (if heat pump) may be running, but the auxiliary electric heat strips never come on. The sequencer is completely dead — no 24V is reaching it, or the coil has failed.
Only Some Heat Strips Work
You get partial heat. Maybe only the first stage comes on, or the second stage is missing. This usually means one set of contacts inside the sequencer is stuck open. The bi-metal disc flexes, but one of the contact stacks doesn’t close.
Heat Strips Won’t Turn Off
The electric heating runs continuously even when the thermostat is satisfied. The contacts are stuck closed — the sequencer can’t shut down the 240V supply. This can cause the air handler to overheat.
Breaker Keeps Tripping When Heat Comes On
Every time the thermostat calls for heat, the main breaker trips immediately. Either the sequencer is shorting internally, or contacts are stuck together, allowing all heat strips to energize at once (drawing too much current).
Breaker Trips When Switching Between Heating and Cooling
The breaker pops when the system transitions from heating to air conditioning, or during the changeover in a heat pump. The sequencer contacts may be arcing or the wiring has been disturbed.
How to Diagnose a Bad Sequencer
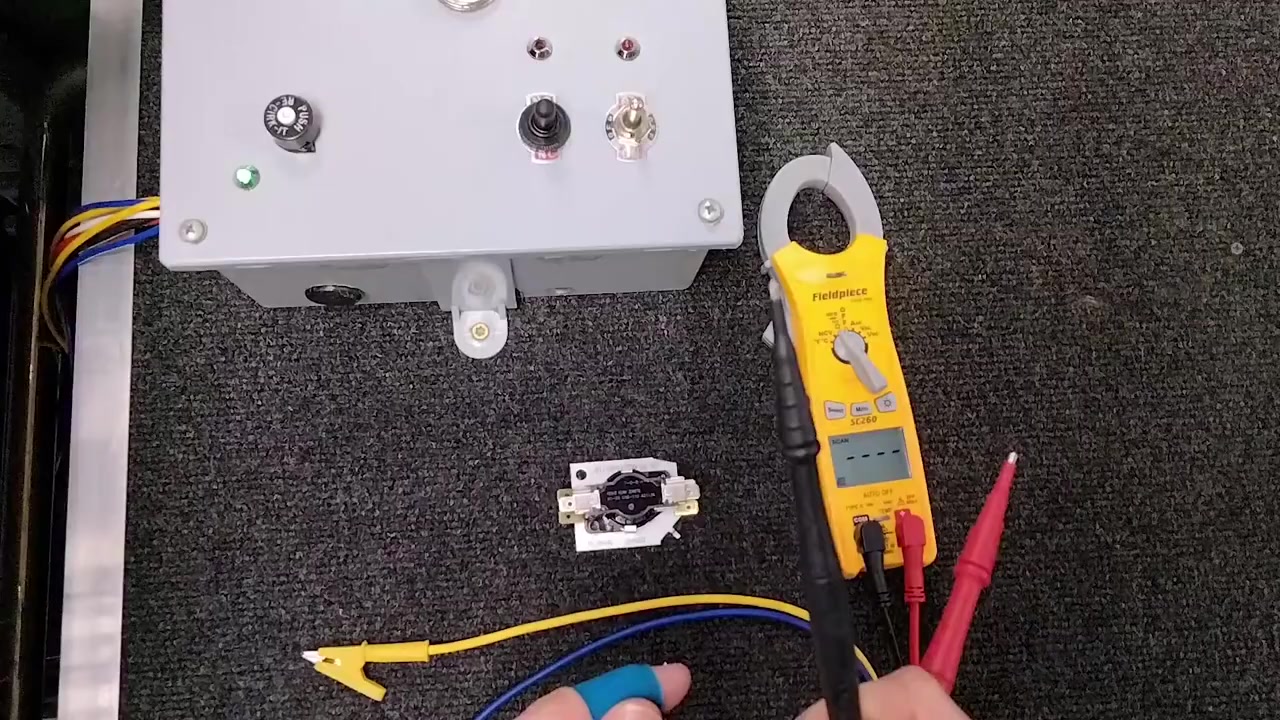
Testing a sequencer requires a multimeter set to continuity mode and knowledge of what to expect at different stages. Follow these steps:
Turn Off All Power
Flip the power switch on the air handler to OFF. Then turn off the breaker at the electrical panel. Use a multimeter to verify there’s no voltage at the sequencer terminals. Double-check — don’t assume the power is off.
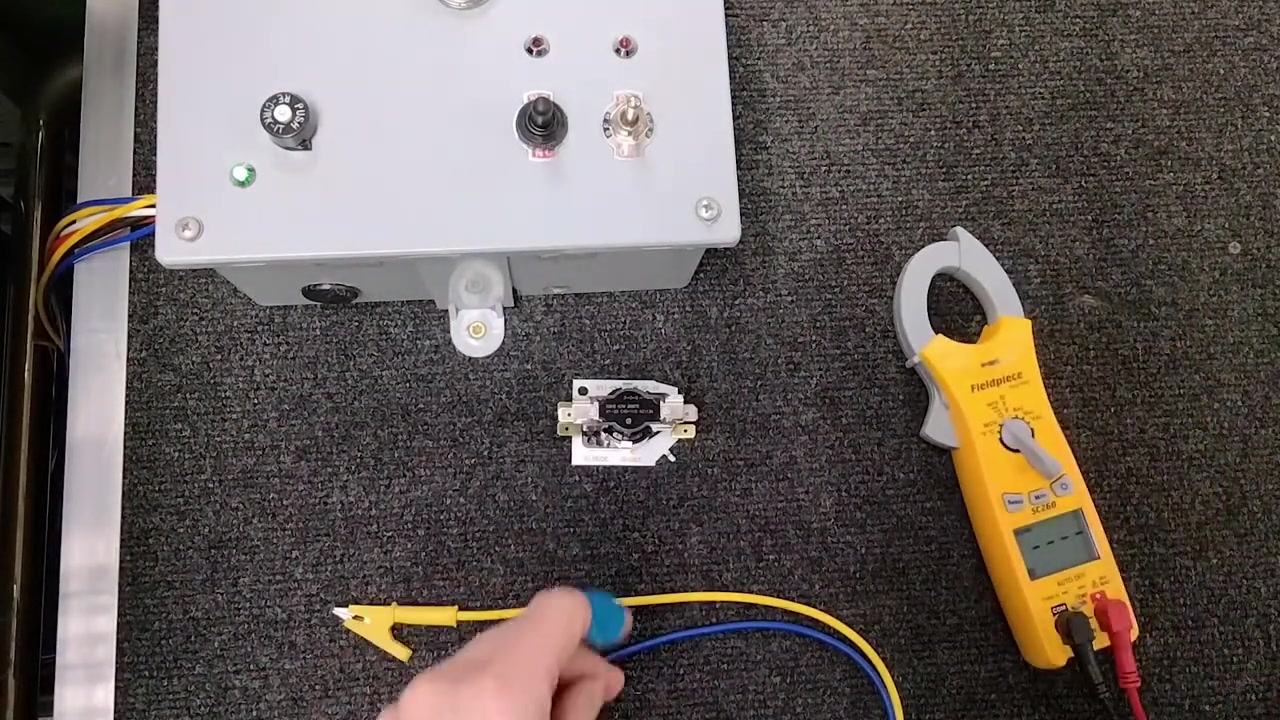
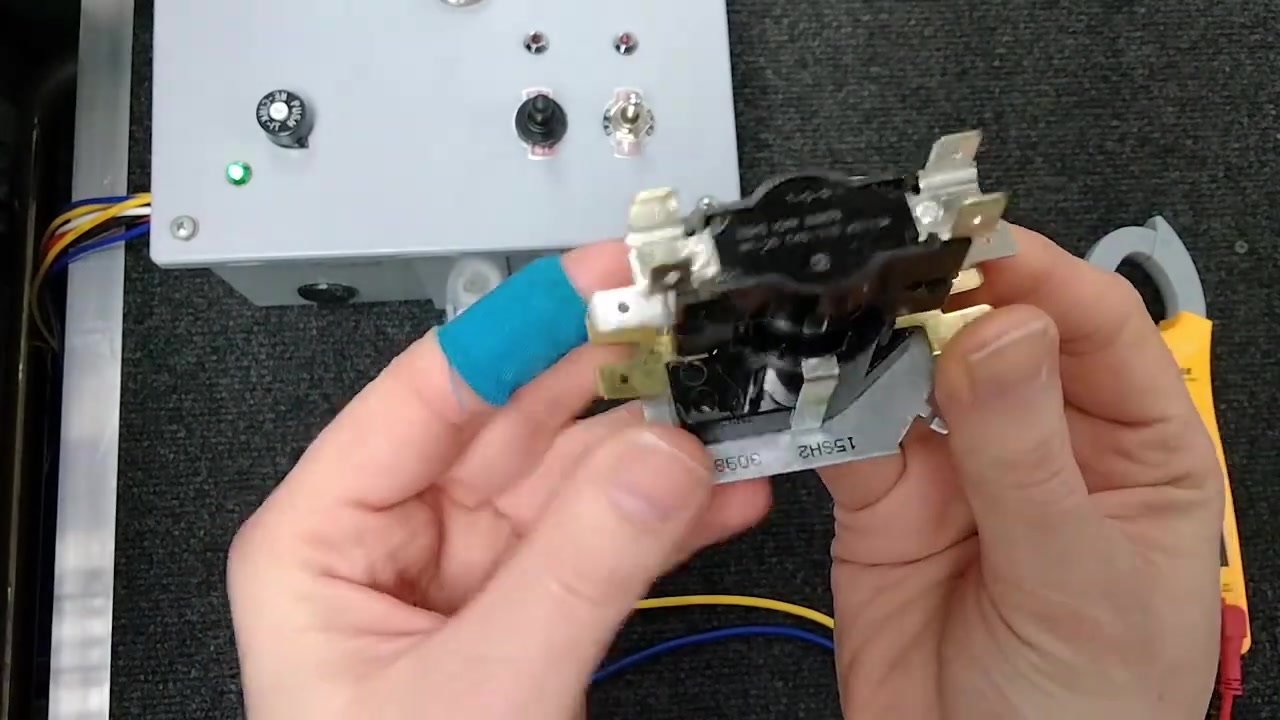
Locate the Sequencer
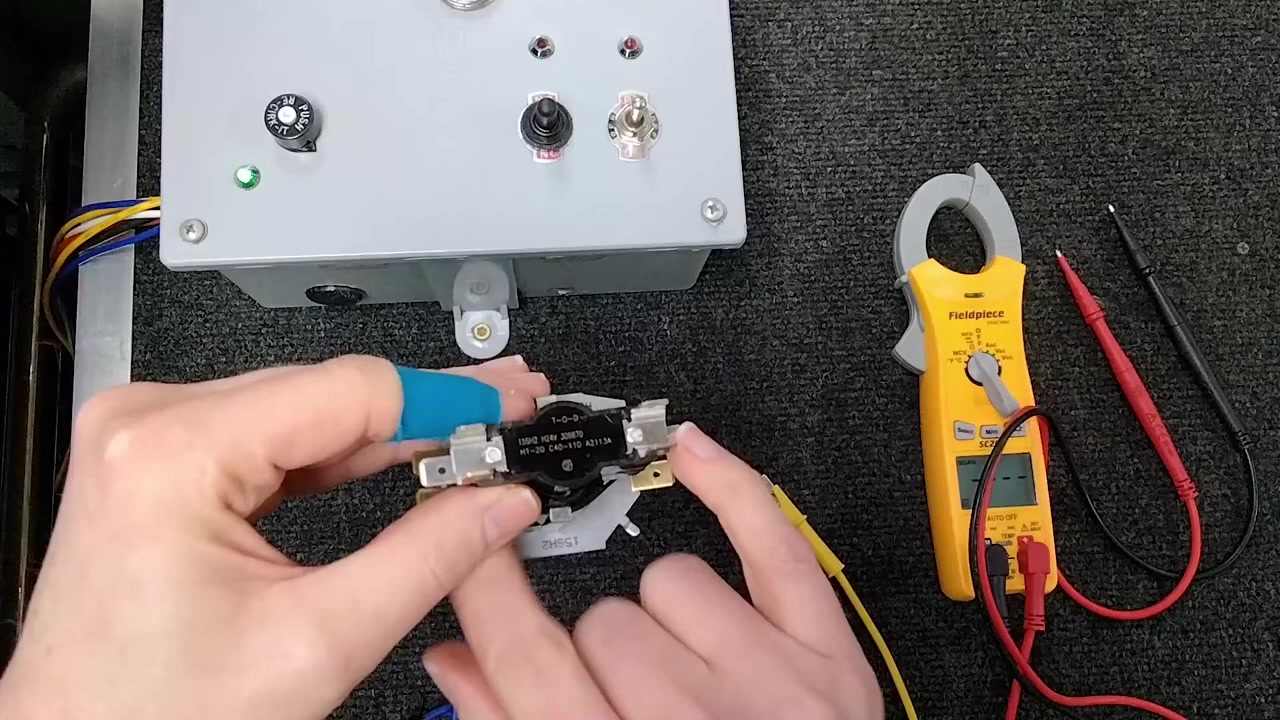
The sequencer is typically mounted directly on or very near the electric heat strip assembly inside the air handler. Look for a rectangular box with multiple terminals on one side. The terminals are usually labeled with numbers (like 1, 2, 3, 4, etc.) or sometimes just tiny symbols. You’ll also see two terminals for the 24V coil (usually at one end).
Check for 24V at the Coil When Heat is Called (Power ON — Be Careful)
Turn power back on. Set your thermostat to call for heat. Use a multimeter set to voltage (DC) to check for approximately 24 volts between the two coil terminals on the sequencer. If you see 24V, the coil is being energized — that’s good. If you see 0V or only a few volts, the problem is upstream (transformer, thermostat wiring, or control board) and it’s not the sequencer’s fault.
Test Continuity Through Each Contact Stack (Power OFF)
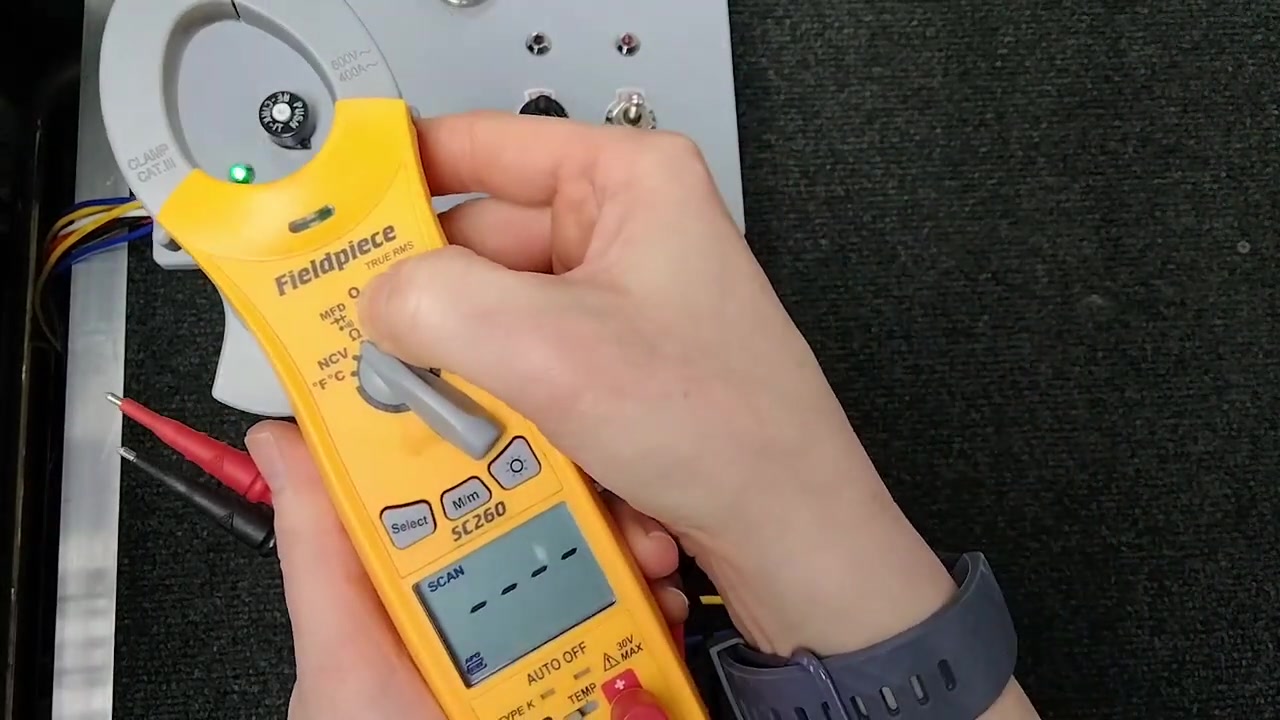
Turn off all power again. Set your multimeter to continuity mode (the symbol that looks like a speaker or sound wave). For a 2-stack sequencer, you’ll have two sets of terminals (say, 1–2 and 3–4). Test from terminal 1 to terminal 2 with power off. You should see NO continuity (open circuit) when the thermostat is not calling for heat. This means the contacts are properly open.
Verify Contacts Close Under 24V Load
Turn the thermostat back to heat, allowing the 24V to energize the coil. Wait about 1–2 seconds for the thermal delay — the bi-metal disc takes time to heat up and flex. Now place your meter probes back on terminals 1 and 2. You should see continuity (a beep or a very low resistance reading, typically under 1 ohm). This means the contacts have closed and current can flow through. Now test terminals 3–4 (the second stack). There should also be continuity now.
Check Contacts Open During Cool Down
With the meter still connected, set the thermostat back to OFF or cooling mode. Remove the 24V from the coil. The bi-metal disc begins to cool and contract back to its original shape. The time delay on cooldown (typically 40–110 seconds) means the contacts stay closed for a while — then they snap open all at once as the disc fully cools. Wait and listen. After 40–110 seconds you should hear or feel a “pop” as the contacts open. Place the meter on terminals 1 and 2 again. Now you should see NO continuity — the circuit is open again.
Look for Stuck Contacts
If after the cool-down delay the contacts are still closed (continuity is still there), the bi-metal disc has stuck. This is a mechanical failure. Or, if the contacts won’t close at all when 24V is applied, the disc has lost its flex (age, corrosion, or manufacturing defect). In either case, the sequencer needs to be replaced.
Tools & Parts You’ll Need
Tools
- Multimeter (digital meter with voltage, continuity, and resistance modes)
- Small wire strippers (for 18–22 gauge wire)
- Small needle-nose pliers (for pulling terminals and bending wires)
- Phillips and flathead screwdrivers
- Adjustable wrench or small hex drivers (for removing mounting screws)
- Wire crimpers (for attaching ring terminals or spade connectors)
- Work gloves (for electrical safety)
- Phone or camera (to photograph all wiring before disconnecting)
Parts
- Replacement heat sequencer (must match the number of stacks/contacts of the old one)
- Wire nuts or heat-shrink butt connectors (18–22 gauge)
- Ring terminals or spade connectors (if sequencer uses screw terminals)
- Electrical tape or heat-shrink tubing (for insulation)
Step-by-Step: Replacing the Sequencer
Turn Off All Power at the Breaker
Flip the main disconnect or power switch on the air handler. Then go to the electrical panel and turn off the breaker that feeds the air handler. For safety, put a piece of tape over the breaker switch so someone doesn’t accidentally turn it back on while you’re working. Use your multimeter to verify there is zero voltage at the sequencer terminals.
Remove the Access Panel
Unscrew or unclip the access panel that covers the sequencer and heat strip assembly. This usually involves 4–6 screws or clips. Set the panel aside and don’t lose the hardware.
Photograph All Wiring
Take clear photos from multiple angles showing exactly which wires go to which sequencer terminals. Include the 24V coil wires, all the load-side wires (the ones going to the heat strips), and any ground wires. You will use these photos to wire the new sequencer. This is critical — don’t skip it. If you make a wiring mistake, you can damage the new sequencer or trip the breaker.
Label All Wires (Optional but Recommended)
Use a piece of tape and a marker to label each wire before you disconnect it. Write something like “Coil-24V-Hot”, “Coil-24V-Neutral”, “Strip-1-Leg-1”, “Strip-1-Leg-2”, etc. This takes 2 minutes and can save you 30 minutes of confusion later. Use painter’s tape so it doesn’t leave residue.
Disconnect All Wires From the Old Sequencer
Carefully pull off each wire terminal from the sequencer. If the terminals are crimped spade connectors or ring terminals, gently wiggle them side-to-side as you pull. If they’re soldered, you may need to use a small soldering iron to desolder them. If they’re pushed into quick-connect terminals on the sequencer, a small flathead screwdriver inserted into the terminal slot may help release them. Take your time — do not yank wires, as you can break them.
Remove the Mounting Screws
The sequencer is held to the heat strip assembly or bracket with 2–4 small screws or a mounting clip. Remove these fasteners and set them aside. Note the orientation of the old sequencer (which way it’s facing). The new one should go in the same orientation.
Install the New Sequencer
Place the new sequencer in the same location and orientation as the old one. Align the mounting holes and install the fasteners. Snug them down firmly but don’t over-tighten — the sequencer body is plastic and can crack.
Reconnect All Wires Per Your Photos
Using your photos and labels as a guide, reconnect each wire to the new sequencer’s terminals. Make sure the 24V coil wires (usually marked R and W or similar) go to the same terminals on the new sequencer as they did on the old one. The load-side terminals (the ones carrying 240V to the heat strips) must be wired identically. If the new sequencer has different terminal layout, do NOT proceed — you likely have the wrong sequencer. Go back and verify the part number matches.
Verify All Connections Are Tight
Gently tug on each wire to make sure it’s firmly seated in the terminal. Loose connections will cause arcing and breaker trips. If you’re using screw terminals, make sure they’re snug with a screwdriver. If you’re using spade connectors, they should be tight enough that they don’t fall off if you wiggle them.
Reinstall the Access Panel and Test
Reinstall the access panel with its screws or clips. Turn the breaker back on. Set the thermostat to call for heat. You should hear the sequencer coil click or hum, and feel warmth coming from the air handler as the heat strips energize. Feel the supply ductwork — if it’s getting warm after a few seconds, the sequencer is working. Let it run for 30 seconds to make sure both stages of heat come on (if applicable) and the breaker doesn’t trip.
Heat Sequencer Terminal Configuration
DIY vs. Calling a Pro
Replacing a heat sequencer is one of the fastest and most rewarding HVAC repairs a homeowner can do. Here’s the cost breakdown:
| Expense | DIY (Open To Public) | HVAC Service Call |
|---|---|---|
| Replacement Sequencer | $20 – $50 | $90 – $200 (marked up) |
| Diagnostic / Service Fee | $0 | $89 – $150 |
| Labor | $0 (20–30 min of your time) | $100 – $250 |
| Total | $20 – $50 | $279 – $600 |
That’s a savings of $200 to $550+ in your pocket — for less than an hour of work.
Watch the Full Video Guides
Our Open To Public HVAC School YouTube channel has detailed walkthroughs for testing and replacing heat sequencers:
Video 1: How to Test a Heat Sequencer (Full Teardown)
Need a Heat Sequencer? We’ve Got It.
Open To Public HVAC Parts carries heat sequencers in stock for electric air handlers and heat pumps — 2-stack, 3-stack, and specialty models for all major brands. Bring in your old sequencer and we’ll match the exact replacement at the counter. We offer free testing and troubleshooting to confirm whether it’s the sequencer or another component that’s causing your heating problem. We stock wiring terminals, connectors, and all the supplies you’ll need for a clean installation.
Open To Public HVAC Parts
Walk-in only. 10226 Plano Rd, Suite 104, Dallas, TX 75238
Mon–Fri 10 AM – 7 PM | Sat 10 AM – 3 PM
Since 1998 | 546+ Google Reviews | 4.9 Stars
Walk in. We’ll match it.
Bring your old part or a photo of your unit. We’ll find the replacement, test the new one before you leave, and walk you through the install if you’ve never done one.
Shop Heat Sequencers
Browse our in-stock inventory — or just bring your old part in and we will match it at the counter.
Not sure which part you need?
Call or text us at (214) 340-9421, or bring in your old part — we will bench-test it for free and find the right replacement.