How to Test an AC Contactor With a Multimeter
If your AC unit hums but won’t start, or it clicks on and off randomly, the problem might be a bad contactor. The contactor is a small electrical switch inside your condensing unit that sends power to the compressor and fan motor when your thermostat calls for cooling. When it fails, your whole system can shut down.
The good news? Testing a contactor takes about five minutes with a basic multimeter, and replacing one is a straightforward DIY job that saves you hundreds compared to a service call.
What Does an AC Contactor Do?
Your thermostat sends a low-voltage signal (24V) to the contactor when it needs cooling. That signal pulls down an electromagnetic coil inside the contactor, which closes a set of high-voltage contacts. Those contacts complete the 240V circuit to your compressor and condenser fan motor. When the thermostat is satisfied, the coil releases, the contacts open, and the outdoor unit shuts off.
Over time, the contacts pit and burn from electrical arcing. The coil can also fail. Either problem means your AC won’t run properly — or won’t run at all.
Signs Your Contactor Might Be Bad
A failing contactor usually gives you some warning signs before it dies completely. Watch for your outdoor unit humming but not starting (the coil is energized but contacts aren’t closing), the unit chattering or clicking rapidly, visible pitting or burn marks on the contact points, or the AC staying on even after the thermostat shuts off (contacts welded shut — this one needs immediate attention).
How to Test the Contactor
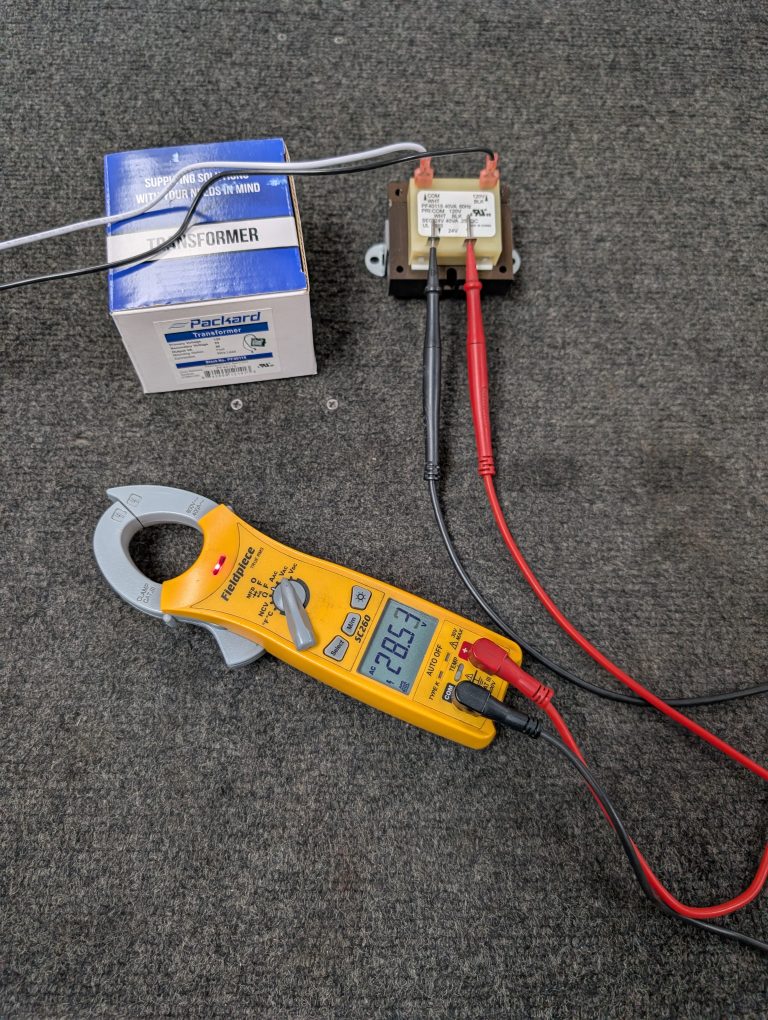
Safety first: Turn off power to your outdoor unit at the disconnect box before touching anything inside the panel. Verify power is off with your multimeter.
Step 1 — Visual inspection: Remove the access panel on your condensing unit. Look at the contactor for obvious signs of damage: pitted or blackened contacts, melted plastic, or a burnt smell. If the contacts are heavily pitted, replace it — no further testing needed.
Step 2 — Test the coil: Set your multimeter to the ohms (resistance) setting. Touch the probes to the two low-voltage terminals on the contactor (usually the smaller wires, often labeled “coil”). A good coil typically reads between 10 and 100 ohms. If you get OL (open line) or infinite resistance, the coil is burned out and the contactor needs to be replaced.
Step 3 — Test the contacts: With the contactor still de-energized, manually press the button or plunger on the contactor to close the contacts. With your multimeter set to ohms, touch the probes across each set of line-side and load-side terminals. You should read near-zero ohms (continuity) when the contacts are pressed closed. If you get a high reading or OL, the contacts are damaged.
Replacing the Contactor
AC contactors are inexpensive — usually between $18 and $35 at Open To Public HVAC Parts. Compare that to $150 to $300 for a service call to replace the same part. When buying a replacement, match the voltage rating (usually 24V coil, 240V contacts) and the amp rating to your old contactor. Bring the old one in and we can match it for you at the counter.
Installation is simple: label and disconnect the wires from the old contactor, remove the mounting screw, install the new one, and reconnect the wires in the same positions. Take a photo of the wiring before you disconnect anything — it makes reassembly easy.
Need Help? Bring It In
Not sure if your contactor is bad? Pull it out and bring it to our counter — we’ll bench-test it for free and tell you exactly what’s going on. We stock single-pole and double-pole contactors for all major brands including Trane, Carrier, Rheem, Lennox, and Goodman.
Open To Public HVAC Parts — 10226 Plano Rd, Suite 104, Dallas, TX 75238. Call or text (214) 340-9421. Open Monday–Friday 10–7, Saturday 10–3.